- Key Takeaways
- Why Seasonal Upkeep Matters More Than Ever
- Start With a Full Home Walkthrough Before You Spend a Dime
- Spring Priorities: Repairing Winter’s Damage
- Summer Projects: Comfort, Efficiency, and Quiet Wins
- Fall Preparation: Getting Ahead of Winter
- Winter Watchfulness: Small Checks That Prevent Big Claims
- Budget-Friendly Upgrades That Pay You Back
- Building a Simple Homeowner Log
- Knowing When to Call a Professional
- Conclusion
Key Takeaways
- Preventative upkeep performed on a seasonal schedule costs far less than emergency repairs triggered by neglected small problems.
- Spring and fall are the two most important windows for inspecting exterior systems like the roof, gutters, siding, and foundation.
- Small weatherproofing projects such as caulking, weatherstripping, and insulation upgrades pay for themselves through lower utility bills within a single year.
- HVAC systems, water heaters, and plumbing fixtures last significantly longer when flushed, cleaned, and serviced on a predictable schedule.
- Documenting every inspection, receipt, and project in a simple homeowner log helps spot recurring issues before they turn into major failures.
- Prioritizing fixes by risk and cost — safety first, water intrusion second, cosmetics last — stretches a limited budget further.
- Many protective upgrades, from attic ventilation to smart leak detectors, cost under a few hundred dollars but prevent repair bills in the thousands.
Why Seasonal Upkeep Matters More Than Ever
Owning a home has always meant juggling a long list of chores, but the financial stakes have climbed sharply in the last few years. Materials cost more. Labor costs more. And a small issue you ignore in April has a nasty habit of becoming a four-figure emergency in October. The good news is that most of the expensive disasters homeowners face are preventable with a little planning and a modest amount of weekend effort.
The homeowners who come out ahead are not necessarily the ones with the biggest budgets. They are the ones who treat their house like a system that needs regular tune-ups. Spring, summer, fall, and winter each come with their own stresses on your property, and addressing those stresses in the right order keeps little issues little.
This guide walks you through a practical, step-by-step approach to protecting your home through each season. You will learn what to inspect, what to fix first, and where to spend a small amount of money so you do not have to spend a much larger amount later.
Start With a Full Home Walkthrough Before You Spend a Dime

Before you buy supplies or call a contractor, take an hour and walk every inch of your property with a notebook. Start at the roofline and work down to the foundation. Then go inside and do the same thing from the attic to the basement. The goal is not to fix anything yet. The goal is to see clearly what you are working with.
As you walk, write down anything that looks worn, cracked, stained, loose, or out of place. Pay attention to smells too. Musty odors often signal hidden moisture. A faint gas smell near the water heater is a safety flag. The point of this walkthrough is to replace vague worry with a specific list.
Here is what to capture during that initial inspection:
- Roof condition, missing shingles, and sagging gutters
- Exterior paint, siding gaps, and caulk failures around windows and doors
- Foundation cracks, grading issues, and visible water pooling
- Interior ceiling stains, wall cracks, and squeaky or soft flooring
- Signs of pests such as droppings, chewed wood, or mud tubes
- HVAC filter condition, visible duct damage, and thermostat behavior
According to Angi, most owners are now focused on preventative upkeep to dodge bigger bills later, with 71 percent prioritizing that mindset. The walkthrough is where that mindset becomes real. You cannot prevent what you have not yet noticed.
Spring Priorities: Repairing Winter’s Damage
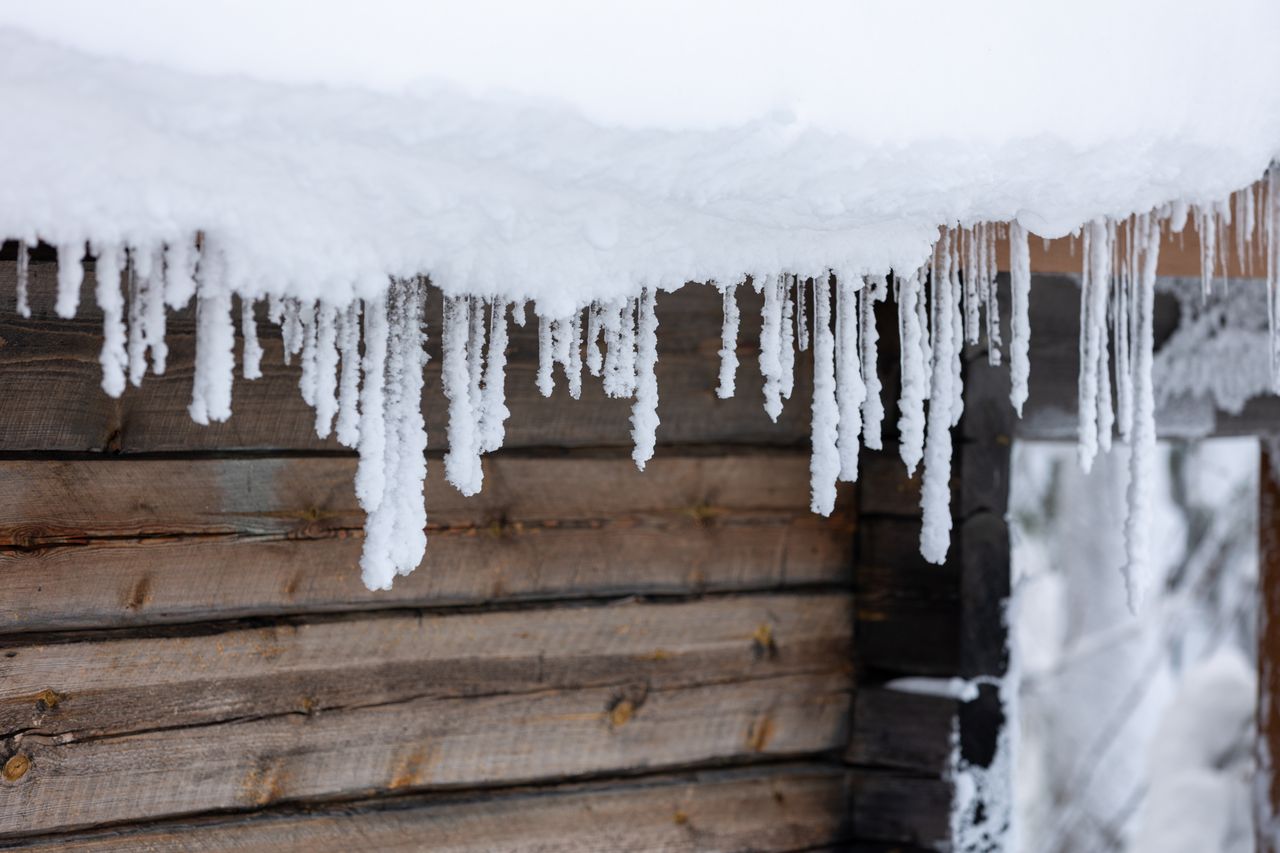
Spring is the single most important inspection season for most climates. Freeze-thaw cycles, ice dams, salt exposure, and heavy snow loads all leave marks. If you catch them in March or April, you can usually patch things yourself for the cost of a tube of sealant. If you wait until July, the same spot may have let in enough water to rot framing.
Start outside. Walk the perimeter and look up at the roof with binoculars. Check for shingles that curled or lifted over winter, flashing that pulled away from chimneys and vents, and gutter seams that split from ice. Then look down. Scan the foundation for new hairline cracks, and check whether the grading still slopes water away from the house.
Tackling the Exterior Envelope First
The exterior envelope is your first line of defense against weather and the most expensive thing to repair when it fails. In spring, focus on sealing, not replacing. A $6 tube of exterior caulk around a window frame stops water that would otherwise rot your sheathing. A $15 tub of roof sealant on a questionable flashing joint buys you another season to budget for a bigger repair.
Clean the gutters thoroughly, flush the downspouts, and extend any that dump water within five feet of the foundation. Wash the siding to remove winter grime and mildew, which lets you spot damage you could not see before. Trim back any branches touching the roof. These small jobs take a weekend and prevent some of the most common water intrusion claims homeowners file.
Summer Projects: Comfort, Efficiency, and Quiet Wins
Summer is the right time for projects that improve energy efficiency and tackle the interior work you postponed all winter. The weather cooperates, supplies are easy to find, and you have long daylight hours. This is also the season when smart, affordable home renovation ideas on a budget can deliver the biggest comfort gains, because improvements to insulation, sealing, and shading pay off immediately on your cooling bill.
Start with your attic. Poor attic ventilation and thin insulation cause your air conditioner to run constantly, which shortens its life and drives up your electric bill. Adding a few batts of insulation to bring the attic up to current recommendations is often a weekend project and a modest material cost. Sealing gaps around recessed lights, bath fans, and attic hatches with a can of spray foam costs almost nothing and makes a real difference.
Summer is also the right window to:
- Service the air conditioning condenser and clear debris from around it
- Replace HVAC filters and vacuum return grilles
- Reseal or re-stain a wood deck before fall rain arrives
- Touch up exterior paint on south-facing walls that take the most sun damage
- Check and replace worn weatherstripping on doors
- Flush the water heater to remove sediment
If you are weighing which upgrades deserve your dollars first, it is worth reading up on renovation ROI upgrades so your summer dollars go toward improvements that both protect the home and hold value at resale.
Fall Preparation: Getting Ahead of Winter
Fall is the season where good planning separates the smooth winters from the miserable ones. Everything you do in October is cheaper and easier than doing the same thing in January during a storm. The theme of fall is sealing, servicing, and stocking.
Start with heating. Schedule a furnace tune-up before the rush, when technicians have open calendars and better rates. Replace the filter. Have the burners and heat exchanger checked. If you have a boiler, bleed the radiators. If you have a heat pump, clear the exterior unit and inspect the backup heat strips. A $100 tune-up prevents a $400 emergency call during the first cold snap.
Then move to the water system. Drain and store garden hoses. Shut off and drain exterior spigots if your region freezes hard. Insulate any pipes running through unheated spaces with cheap foam sleeves. Burst pipes remain one of the most expensive single incidents a homeowner faces, and they are almost entirely preventable with a weekend of preparation.
Fall is also the time to seal the building envelope one more time before cold weather locks things in place. Walk the exterior and check every penetration: dryer vents, cable lines, hose bibs, and electrical conduits. Any gap you can see daylight through is a gap that will leak heat and invite mice. A caulk gun and a few cans of expanding foam handle most of it in an afternoon.
Chimney, Fireplace, and Combustion Safety
If you heat with wood, pellets, or gas, fall is non-negotiable for combustion safety. Have the chimney inspected and swept if you burn wood. Creosote buildup is the leading cause of chimney fires, and a sweep costs a fraction of even minor smoke damage. Check the cap and crown for cracks that let water into the flue.
Test every smoke and carbon monoxide detector in the house and replace the batteries on the same day each year so you do not have to remember. If your detectors are more than ten years old, replace the units themselves. The sensors degrade whether or not the alarm still chirps.
Winter Watchfulness: Small Checks That Prevent Big Claims
Winter is less about projects and more about vigilance. The house is sealed up, the heat is running, and the weather is doing its worst. Your job during these months is to notice problems early, because a small issue in a January storm becomes a disaster fast.
Walk the attic once a month with a flashlight. Look for frost on the underside of the roof deck, which signals warm air leaking from the living space. Check for any new water staining around vents and chimneys. In the basement, scan for condensation on cold water pipes and any damp patches on the floor near the foundation walls.
Keep an eye on ice dam formation along the eaves after each snowfall. If you see thick ridges of ice building up, rake snow off the lower three or four feet of the roof with an extension rake from the ground. Never climb onto a snowy roof. If dams are forming every year, the real fix is more attic insulation and better ventilation, which becomes next summer’s project.
Inside, run exhaust fans during and after every shower to keep humidity from condensing on cold windows and walls. Open cabinet doors under sinks on exterior walls during deep cold snaps so warm air reaches the plumbing. Let a thin stream of water run from the faucet farthest from the main shutoff when temperatures drop into single digits.
Budget-Friendly Upgrades That Pay You Back
Not every protective improvement has to be a chore. Some of the highest-return purchases a homeowner can make are small gadgets and materials that quietly prevent expensive failures. If you have a few hundred dollars to spend across a year, these deliver outsized protection.
- Smart leak detectors placed near the water heater, washing machine, dishwasher, and under bathroom sinks
- A freeze alarm or smart thermostat that alerts your phone if indoor temperatures drop
- Automatic water shutoff valves that close the main line when a leak is detected
- Gutter guards on sections that chronically clog with leaves
- Surge protectors at the main panel to shield appliances from grid spikes
- Battery backup for the sump pump, which fails exactly when power does
- Foam pipe insulation and heat tape for the most vulnerable runs
Each of these items costs less than a single service call for the problem it prevents. A $40 leak sensor that catches a dripping water heater before it floods a finished basement has paid for itself a hundred times over. When you plan upgrades, it helps to review common remodeling mistakes to avoid so your protective spending does not get derailed by the cosmetic urge to redo a kitchen before the roof is sound.
Affordable Upgrade Ideas That Prevent Big Repairs
The order you tackle improvements matters as much as which ones you pick. Lead with anything that affects safety or stops water. Then move to energy efficiency. Save appearance-only projects for the end of the list, after the house is tight and the systems are reliable.
A simple sequence for a modest annual budget might look like this:
- Month one: install leak sensors and test every detector
- Month two: add attic insulation and seal top-plate penetrations
- Month three: replace failing weatherstripping and caulk every exterior joint
- Month four: service the HVAC system and flush the water heater
- Month five: upgrade the sump pump and add battery backup
- Month six: address the worst section of gutters, flashing, or siding
Spread across a year, none of these steps strain the household finances, and together they eliminate the most common sources of expensive claims.
Building a Simple Homeowner Log

Memory is a terrible maintenance system. The humidifier filter you swear you just changed was actually swapped out eighteen months ago. The crack in the basement wall that looks the same as last year has actually grown a quarter inch. A written log solves both problems.
The log does not need to be fancy. A spiral notebook in a kitchen drawer works. A shared note on your phone works. A spreadsheet works. What matters is that you write down every inspection, every repair, every receipt, and every observation with the date attached. Over two or three years, patterns emerge. You start to see which fixtures are nearing the end of their lives, which rooms always have humidity issues, and which exterior walls take the worst weather beating.
Include photos whenever possible. A picture of a foundation crack today, compared to the same crack in two years, tells you instantly whether it is stable or moving. Photos of the attic, crawlspace, and electrical panel make it easy to spot changes without crawling back in every time.
A clear, dated record also helps enormously at resale. Buyers and inspectors respond well to a homeowner who can produce a binder showing every service date and every receipt. If you want a ready-made framework to build on, work from an annual maintenance checklist so you are not inventing the structure from scratch.
Knowing When to Call a Professional
Plenty of upkeep is well within reach for a willing homeowner with basic tools. Caulking, weatherstripping, filter changes, gutter cleaning, insulation batts, and most interior patching are weekend-level skills. But there is a short list of jobs where hiring out is almost always the smarter financial move.
Call a professional for:
- Any work involving the main electrical panel or new circuits
- Gas line connections or combustion appliance servicing
- Roof repairs that require walking on steep or tall sections
- Structural changes, including removing any wall you cannot verify is non-load-bearing
- Sewer line issues beyond a basic drain snake
- Mold remediation covering more than a small patch
- HVAC refrigerant work, which is legally restricted anyway
The money you save doing everything else yourself frees up budget to hire the right person for these higher-risk jobs. Trying to DIY your way through a gas line or a load-bearing wall is exactly how small savings turn into large emergencies.
Conclusion
Protecting a house is not about grand gestures or expensive overhauls. It is about showing up four times a year with a notebook, a caulk gun, and a willingness to spend twenty dollars today to avoid two thousand next winter. The homeowners who build equity and avoid financial shocks are the ones who make upkeep a rhythm rather than a reaction.
Start with the walkthrough. Build the log. Pick the one or two highest-risk items on your list and tackle them this month. Then let the seasons guide the rest. Spring for winter damage, summer for efficiency, fall for sealing and servicing, winter for watchful attention. Repeat the cycle every year and the house tells you less often what it needs, because it needs less.
The house is a system, and systems reward consistency. Give yours a modest amount of attention on a predictable schedule, and it will return the favor by not surprising you with the kind of repair bill that derails everything else you were hoping to do that year.