
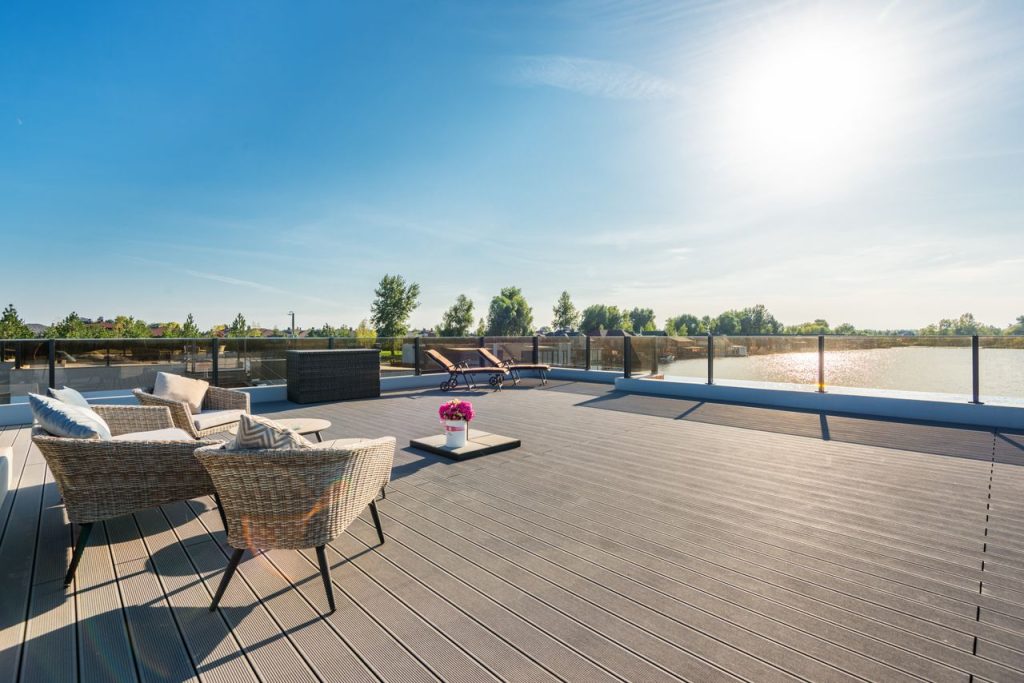
Your deck takes a beating every single year. Rain soaks into the boards, the sun bleaches the color out, and winter freezes water deep into every crack and crevice. Without regular care, even the sturdiest wood deck starts looking tired within just a few seasons, and the structural damage underneath can get expensive fast.
The good news is that a weekend of your time and a few affordable supplies can completely change that trajectory. Staining and sealing your deck isn’t rocket science, and it doesn’t require a professional crew showing up in a branded truck. If you can use a paint roller and follow basic directions, you can protect thousands of dollars worth of wood with your own two hands.
But not every stain works the same way, and not every sealer offers the same protection. The approach you pick matters just as much as the effort you put in. Let’s walk through the real options, compare the trade-offs, and figure out what actually keeps a deck alive longer.
- Why Sealing Your Deck Matters More Than You Think
- Comparing Stain Types: Which Finish Fits Your Deck?
- How Does DIY Stack Up Against Hiring a Pro?
- The Step-by-Step DIY Process That Actually Works
- What Kind of Lifespan Should You Really Expect?
- Smart Upgrades for Your Backyard Outdoor Living Space
- Common Mistakes That Waste Your Weekend
- Conclusion
Why Sealing Your Deck Matters More Than You Think
A lot of homeowners treat deck sealing as optional, something to get around to eventually. That mindset is exactly what shortens a deck’s life. Wood is a living material, even after it’s been cut and installed, and it reacts to moisture by swelling, shrinking, and eventually splitting apart.
According to Rocky Mountain Forest Products, an unsealed wood deck will dry out and begin to crack, splinter, warp, and peel over time as the elements wear it down. Once that damage starts, no amount of staining later will undo it. You’re left replacing boards, which gets pricey fast.
The payoff for sealing is huge when you look at the numbers. According to WashMastery, decks that are properly stained and sealed can last 10 to 15 years or longer compared to just 5 to 7 years for unsealed wood. That’s basically doubling your deck’s lifespan with nothing more than a weekend project and some elbow grease.
Comparing Stain Types: Which Finish Fits Your Deck?
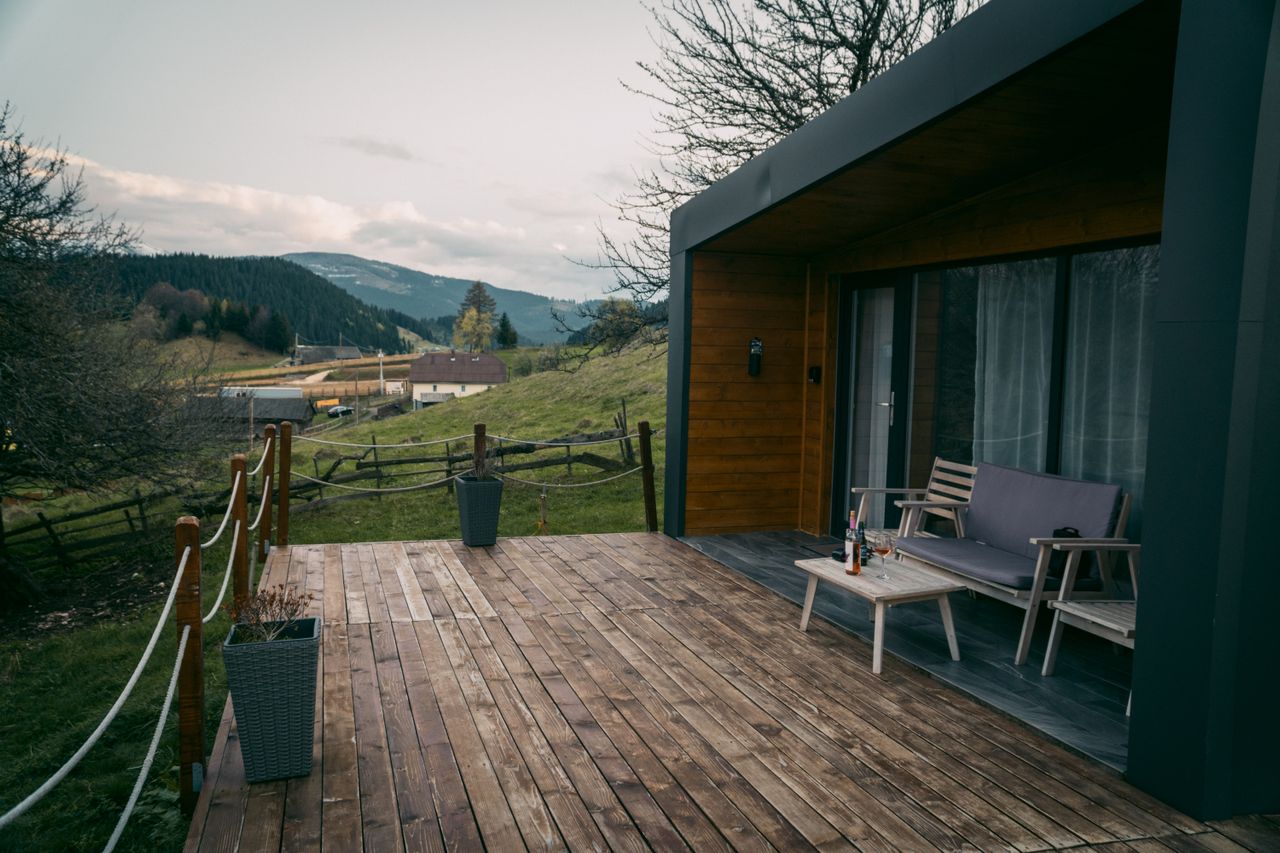 Picking a stain feels overwhelming because the hardware store wall is packed with dozens of cans making similar promises. The truth is, stains fall into just a few main categories, and once you understand how they work, the choice gets a lot easier.
Clear sealers let the natural wood grain shine through but offer the least UV protection. Semi-transparent stains add a hint of color while still showing wood texture. Semi-solid stains block more sun but hide some of the grain. Solid stains work almost like paint — maximum protection, minimum wood character.
Here’s how the main options stack up:
- Clear sealers: cheapest option, easy to apply, but need reapplication every 1 to 2 years
- Semi-transparent stains: great balance of looks and protection, lasts 2 to 3 years
- Semi-solid stains: strong UV defense, typically holds up 3 to 4 years
- Solid stains: longest protection window, up to 5 years, but can peel over time
- Oil-based formulas: penetrate deep into wood fibers
- Water-based formulas: dry faster, clean up with soap and water
Oil-Based vs. Water-Based: The Real Difference
Oil-based stains soak into the wood and nourish it from within, which is why older decks often respond better to them. Water-based stains sit closer to the surface but have come a long way in recent years, and they’re less toxic, dry faster, and clean up with a garden hose. If your deck is newer pressure-treated lumber, water-based works beautifully. For weathered wood that’s been neglected, oil-based usually gives better penetration and a richer finish.
How Does DIY Stack Up Against Hiring a Pro?

This is where the budget conversation really kicks in. Hiring a contractor to stain a mid-sized deck can easily run $1,000 to $2,500 depending on your region, deck size, and prep work needed. Doing it yourself? You’re looking at $150 to $400 in materials for the same job.
According to Trex, ongoing wood decking maintenance costs average around $400 per year for cleaning and staining when done consistently. Handling that work yourself cuts the number down dramatically, and it’s one of the better home renovation ideas on a budget because the payoff is both immediate and long-term. You save money now and extend the deck’s life for years to come.
There are trade-offs, though. A pro brings experience, commercial-grade sprayers, and warranty-backed work. DIY means your weekend is gone, and you’ll probably make a few mistakes the first time around. Here’s a quick breakdown of what you’re really choosing between:
- DIY cost: $150-$400 in materials, 1 to 2 weekends of your time
- Pro cost: $1,000-$2,500 per application, done in a day or two
- DIY learning curve: moderate, but very forgiving on second attempt
- Pro quality: usually more consistent, especially on large or complex decks
- DIY flexibility: stain whenever weather cooperates, no scheduling needed
- Pro guarantee: most reputable contractors offer some workmanship warranty
The Step-by-Step DIY Process That Actually Works
Successful deck staining lives or dies on prep work. The actual staining is maybe 30 percent of the job. Cleaning, sanding, and letting the wood dry properly is the other 70 percent, and skipping any of it causes the finish to peel within months.
Start by clearing everything off the deck — furniture, grills, planters, the whole setup. Sweep thoroughly, then use a deck cleaner or oxygen bleach solution to strip off old finish, mildew, and gray weathered fibers. A pressure washer helps here but use it carefully on a low setting, because too much pressure gouges soft wood and creates a worse surface than you started with.
Here’s the workflow that gets consistent results:
- Clear the deck completely and sweep debris from between boards
- Apply deck cleaner and scrub with a stiff brush
- Rinse thoroughly and let the wood dry for 48 hours minimum
- Sand rough spots and splintered areas with 60 to 80 grit paper
- Tape off siding, railings, and anything you don’t want stained
- Apply stain with a roller or pad applicator, working with the grain
Timing Your Project With the Weather
Weather makes or breaks a staining job. You want two to three days of dry weather on either side of your application, with temperatures between 50 and 85 degrees Fahrenheit. Avoid direct hot sun during application because the stain dries too fast and leaves lap marks. Early morning or late afternoon on a mild, overcast day is the sweet spot. Check the forecast obsessively — a surprise rainstorm hours after you finish can ruin everything.
What Kind of Lifespan Should You Really Expect?
Here’s where expectations need a reality check. A well-maintained pressure-treated deck can genuinely last two decades or more. According to ReplacementGuide.com, pressure-treated wood decks typically last 10 to 20 years with proper upkeep, while composite decking can stretch 25 to 30 years or beyond. That upkeep piece is the key phrase, because neglect cuts those numbers roughly in half.
Your deck is also one of the biggest contributors to your home’s outdoor living area, and that space adds real resale value. Buyers notice a well-kept deck immediately, and they also notice a gray, splintered one. The few hundred bucks and weekends you invest now protect thousands in materials and curb appeal later.
Beyond lifespan, regular sealing changes how the deck feels day-to-day. Smooth boards underfoot, no splinters catching bare feet, no mildew streaks after a wet week. The maintenance habit becomes part of owning a home that actually gets used.
Smart Upgrades for Your Backyard Outdoor Living Space
Once you’ve committed to protecting the deck itself, there are small additions that extend both its life and your enjoyment of it. These aren’t expensive overhauls — they’re practical touches that complement the sealing work you just did.
Adding a pergola or shade sail reduces direct UV exposure on the boards, which is the single biggest cause of stain fade. Drainage improvements under the deck keep moisture from wicking up into the wood. Even swapping out old furniture for pieces with breathable feet instead of solid bases helps air circulate and prevents those dark moisture rings that damage finish.
Lighting is another underrated upgrade. Low-voltage LED strips tucked under railings or stair treads make the deck usable after sunset without putting any strain on the wood. Solar post caps run even cheaper and require zero wiring. If you want to go a step further, a few outdoor rugs made from polypropylene (not natural fiber, which traps moisture) define zones and protect high-traffic spots where stain wears fastest.
Consider these additions that pair well with a freshly sealed surface:
- Pergolas or shade sails to block direct overhead sun
- Breathable furniture pads under table and chair legs
- Polypropylene rugs in dining and lounging areas
- Planter stands that lift pots off the boards
- Gutter extensions to redirect roof runoff away from the deck
- Snow brushes (not metal shovels) for winter clearing
Small Habits That Keep the Finish Fresh
The homeowners who get fifteen or twenty years out of a deck aren’t doing anything magical. They sweep debris out of the gaps between boards every couple of weeks so leaves and dirt don’t trap moisture against the wood. They rinse the surface with a garden hose once a month during heavy-use season. They touch up high-wear spots like stair treads and the area in front of the grill before the whole deck needs recoating. These tiny habits stretch the time between full staining projects from two years out to four or five.
Common Mistakes That Waste Your Weekend
Even careful people run into problems the first time they tackle this project. The most frequent one is applying stain to wood that isn’t fully dry. Boards can look dry on top while still holding plenty of moisture underneath, and stain applied over damp wood peels off in sheets within a season. A cheap moisture meter from the hardware store solves this — anything under 15 percent moisture content is usually safe to coat.
Another common misstep is overapplying stain. More product doesn’t mean more protection. Wood can only absorb so much, and the excess sits on the surface, stays tacky, and eventually flakes off. Two thin coats always outperform one heavy coat. Work in manageable sections, keep a wet edge, and wipe up any puddles before they dry.
Here are the pitfalls worth dodging on your first attempt:
- Staining in direct sunlight or high humidity
- Skipping the sanding step on rough or splintered boards
- Using the wrong brush or roller nap for the product
- Forgetting to stir the stain regularly during application
- Walking on the deck before the full cure time passes
- Ignoring the gaps between boards where water pools
The curing window matters more than most people realize. Even when stain feels dry to the touch after a few hours, it often needs 24 to 72 hours to fully cure before furniture goes back and foot traffic resumes. Rushing that step crushes the finish into the grain unevenly and creates shiny spots you’ll see for years.
Conclusion
A deck is one of those features that quietly defines how you use your home. When it looks good and feels solid underfoot, you spend time out there. When it’s splintered and gray, you stop noticing it, and then one day you realize you need to replace half the boards. Staining and sealing is the simple, repeatable habit that keeps the first scenario going for decades instead of a few short years.
The math genuinely favors doing it yourself. A couple hundred dollars in supplies, a weekend of focused work, and some patience with prep get you results that rival what a contractor charges thousands for. Even if you make a few mistakes the first time around, the wood itself is forgiving, and next cycle you’ll move twice as fast with half the uncertainty.
Pick your weekend, watch the forecast, and get the first coat on. Your deck will thank you for the next decade and a half, and the money you don’t spend tearing out rotted boards is money that stays in your pocket for whatever project comes next.